Fridge Magnet Special 🧲 Buy More, Save More — 2 for $36, 3 for $51, 4 for $64. Fridge Magnets Only!

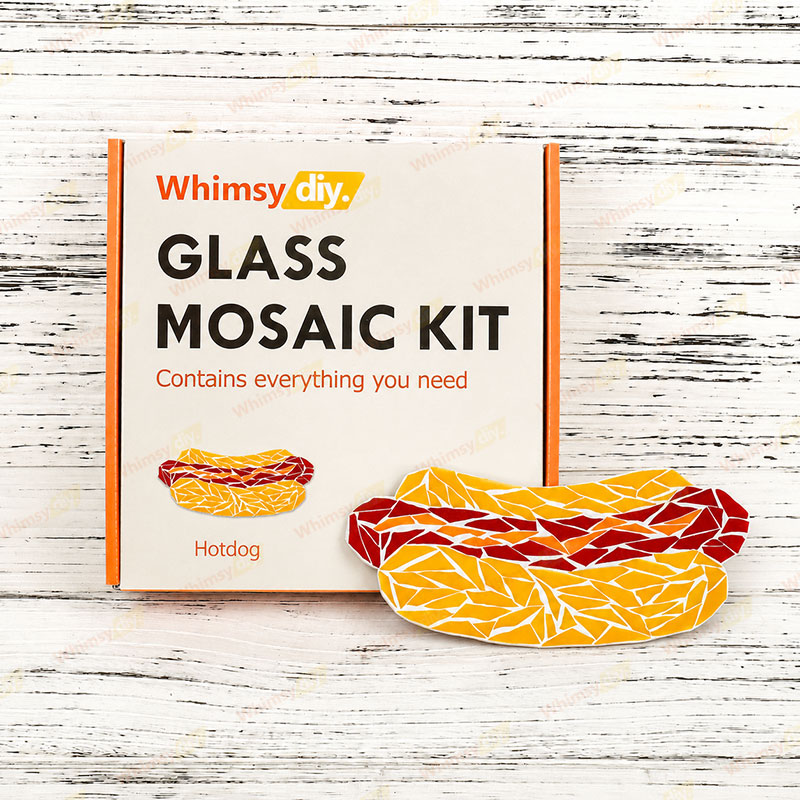
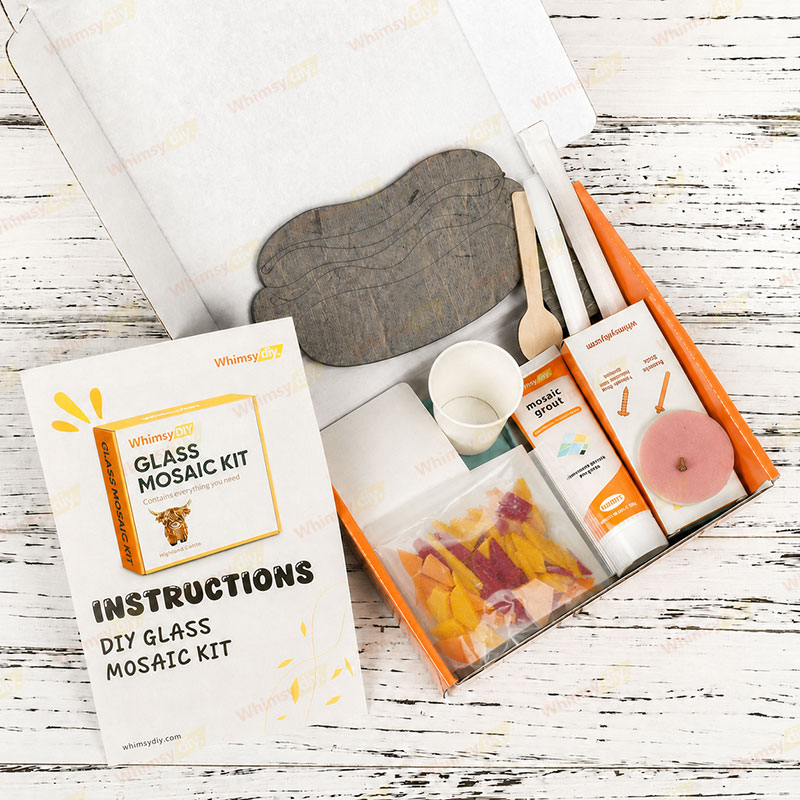
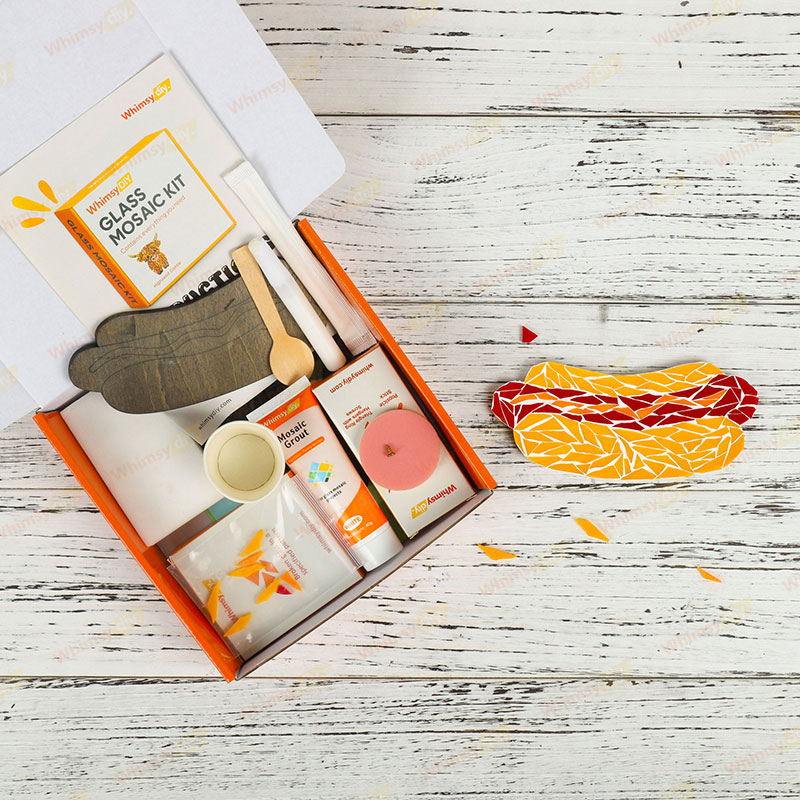
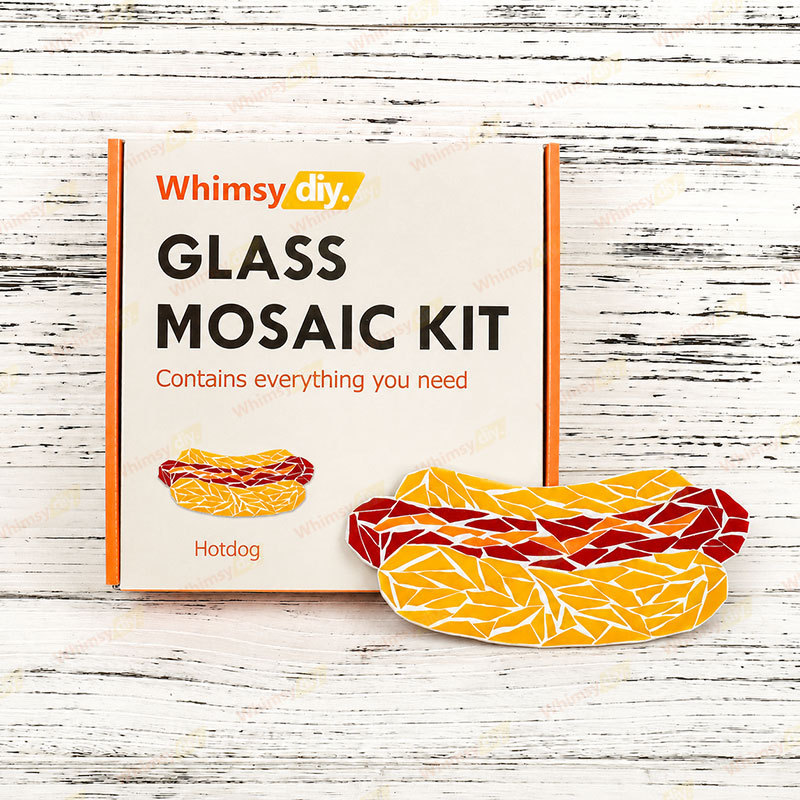
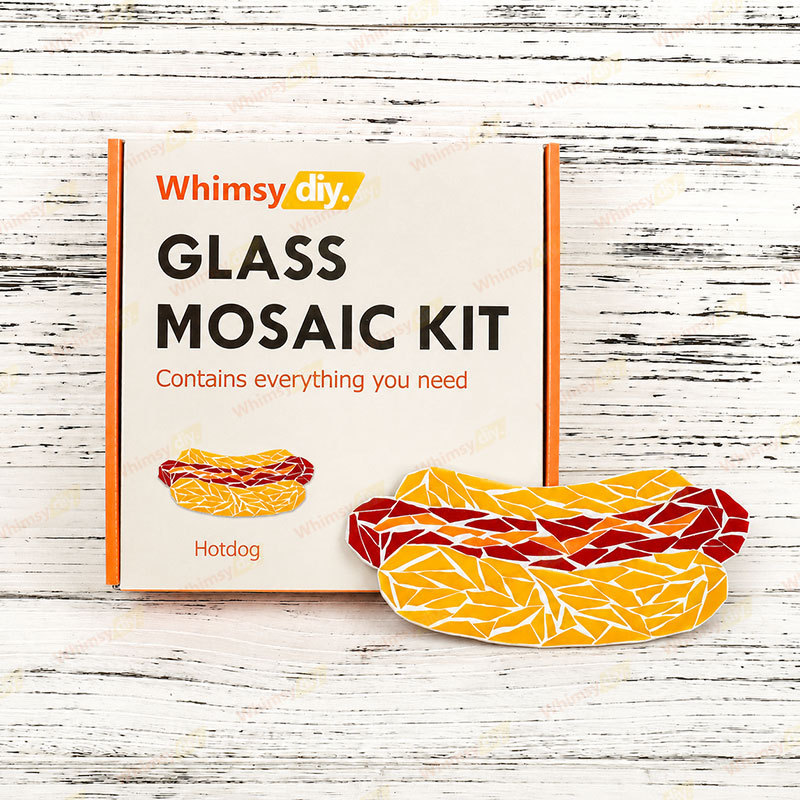
Whimsy DIY Hot Dog Glass Mosaic Kit Puzzles
$70.00 AUD
Quantity
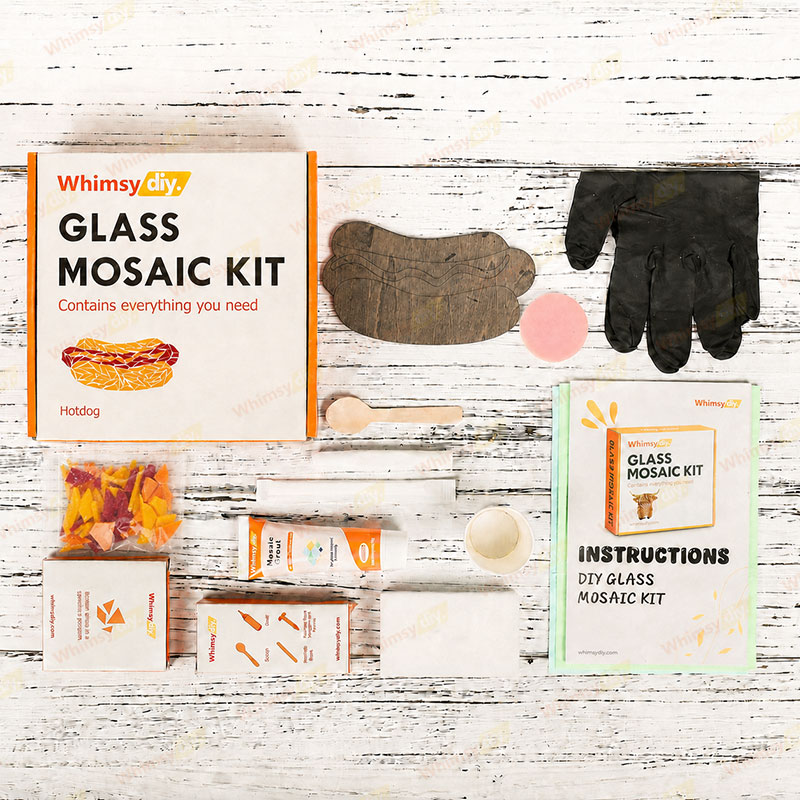
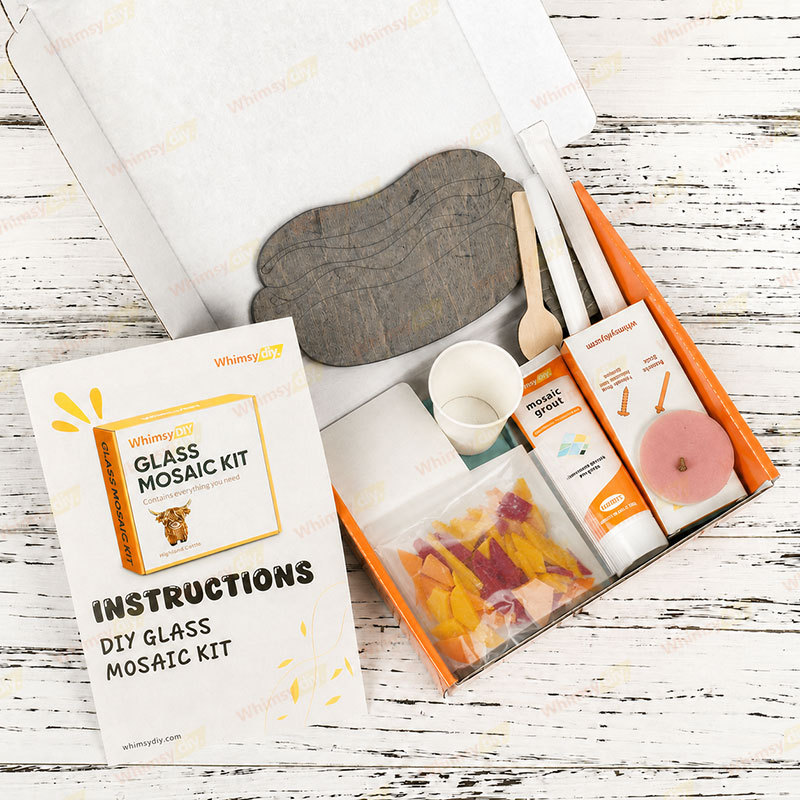
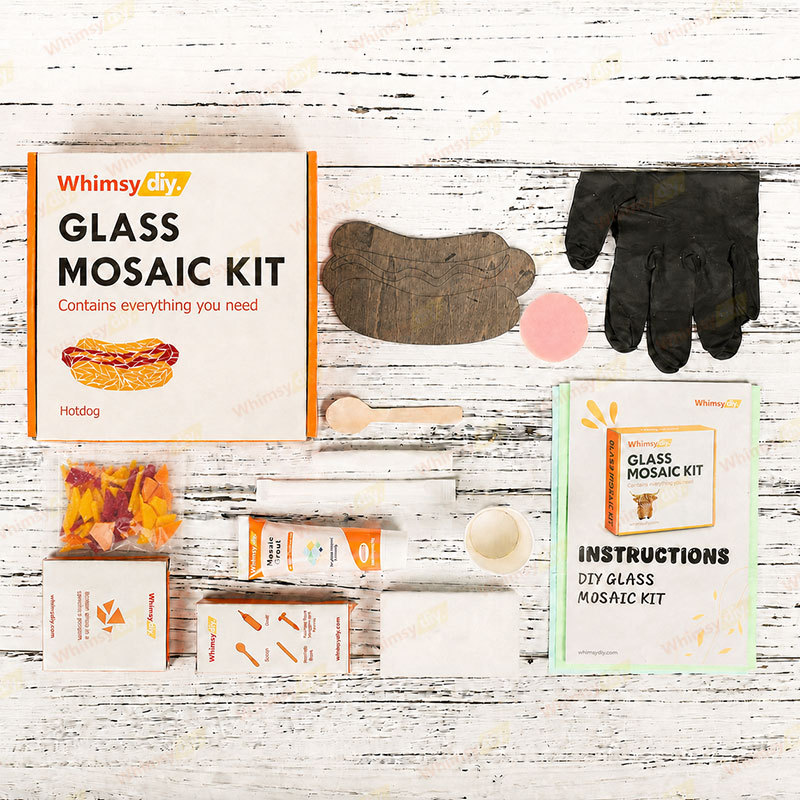
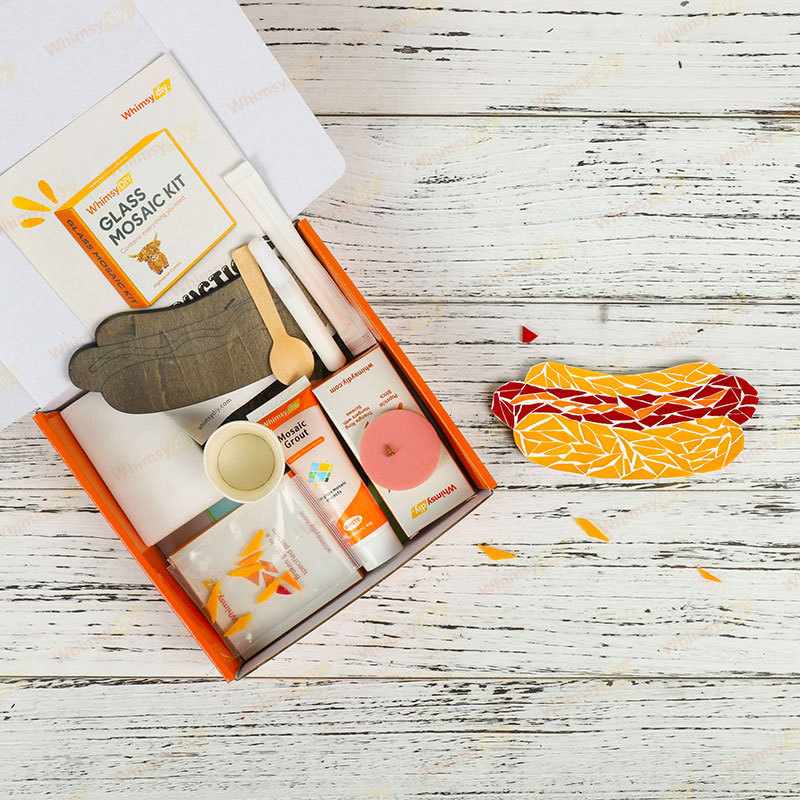
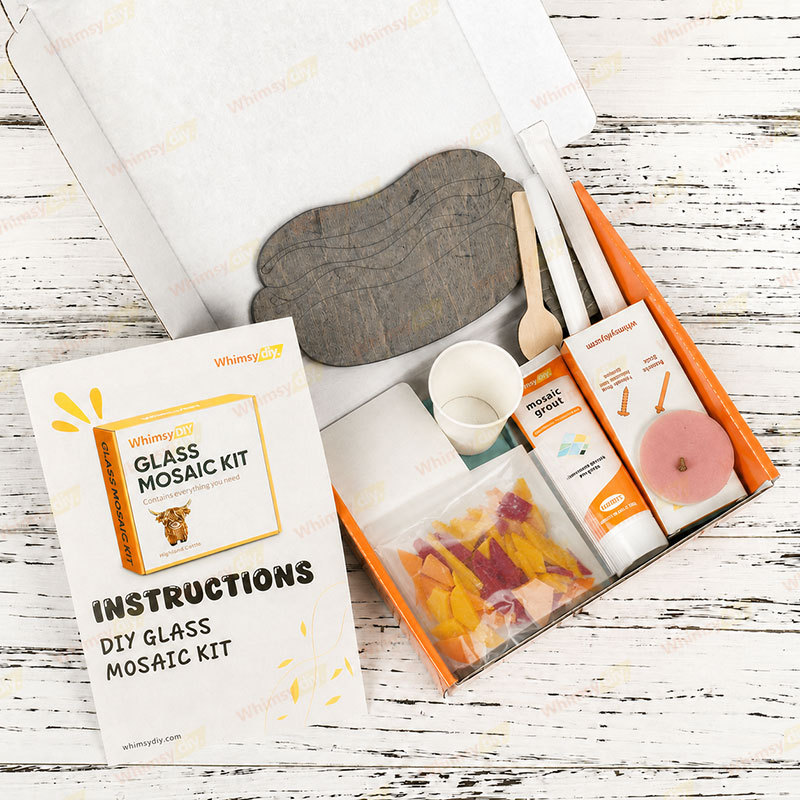
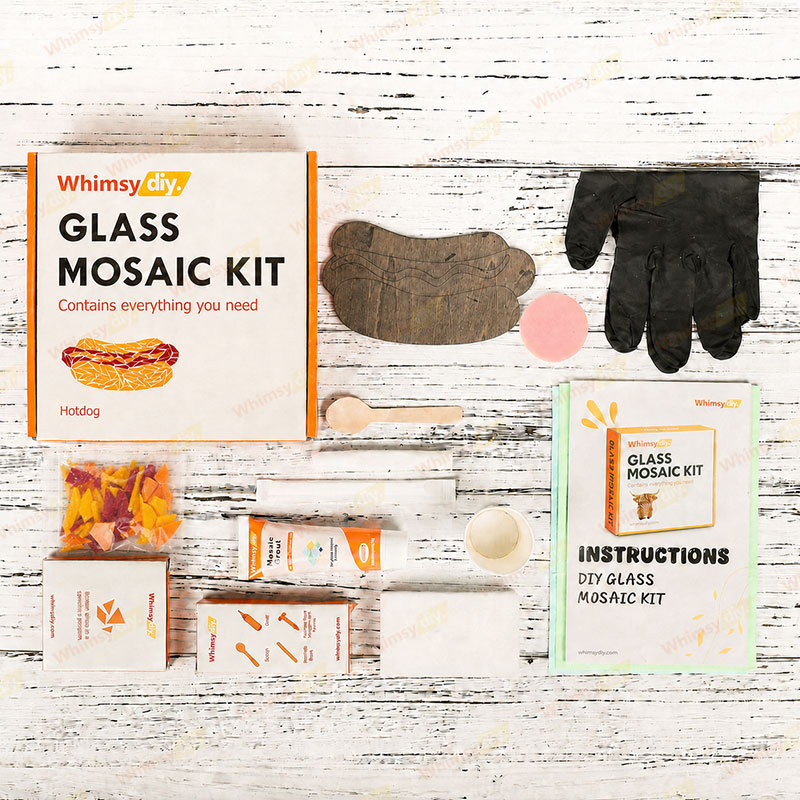
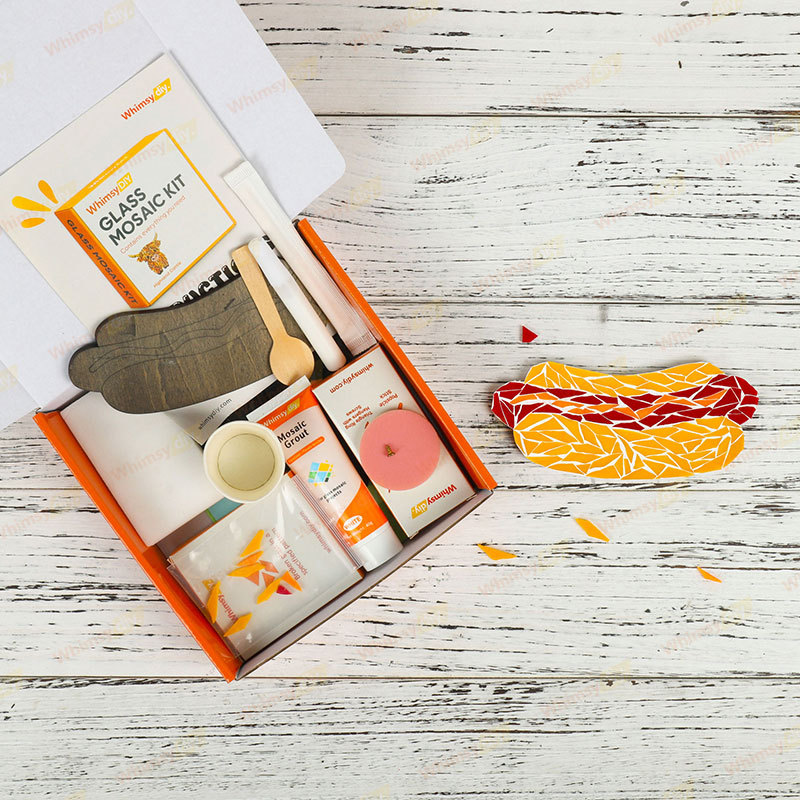
Everything necessary is provided – 15pcs
- Graphic step-by-step instructions x1
- Video tutorials x1
- Hand-cut glass tiles in a specified pattern x1
- Wooden base x1
- Mosaic glue x1
- Mosaic grout x1
- Protective paper for working x2
- Gloves x1
- Wooden Sticks x1
- Paper cup x1
- Wooden spoons x1
- Foam sponge x1
- Grinding sponge x1
- Hangers with screws x1
Black Friday Sale Items
Popular now: 5% Off
Whimsy diy's Pick: 10% Off
Biggest Savings: 20% Off
How do you do glass mosaic art?
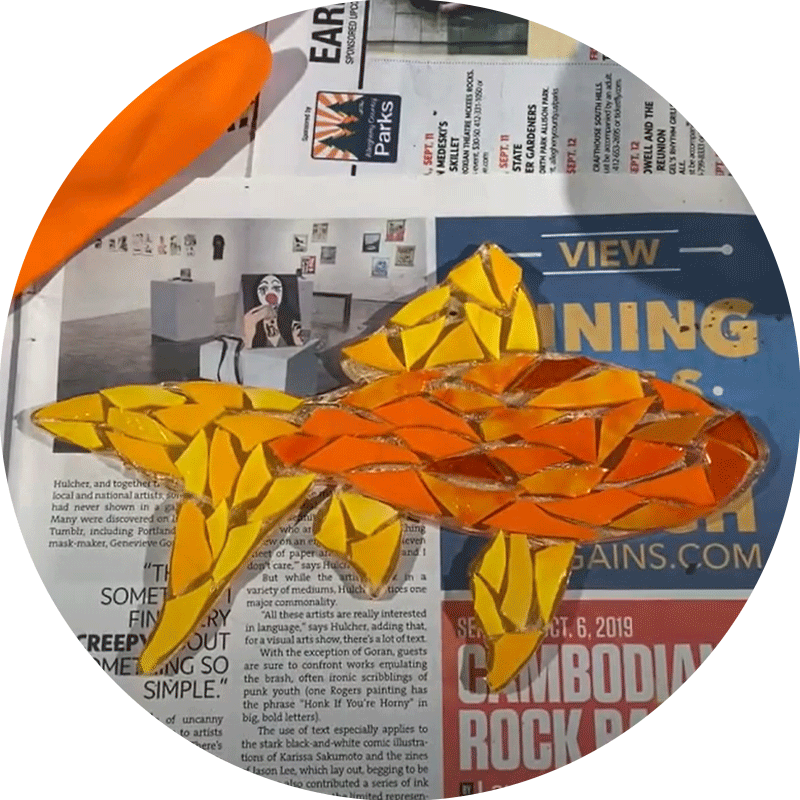
1. Apply adhesive
Apply some glue to the wooden backing and attach the glass pieces according to the patterned grain on the backing.
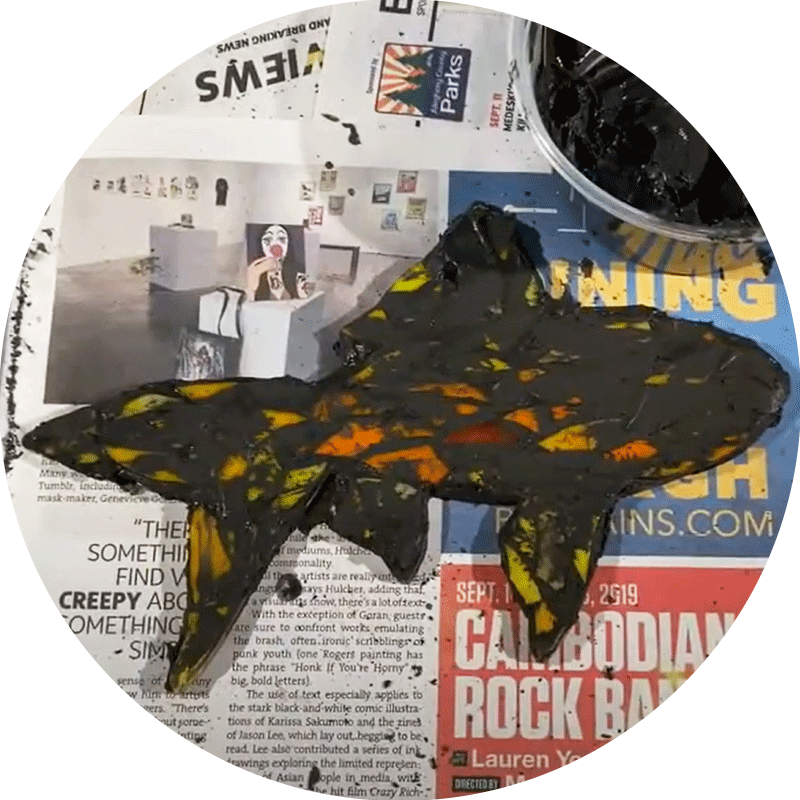
2. Grouting the mosaic
Once the grout is dry, use an abrasive sponge to gently wipe away any grout residue from the surface of the tile. Rub the tiles again with a foam sponge to make them shine.
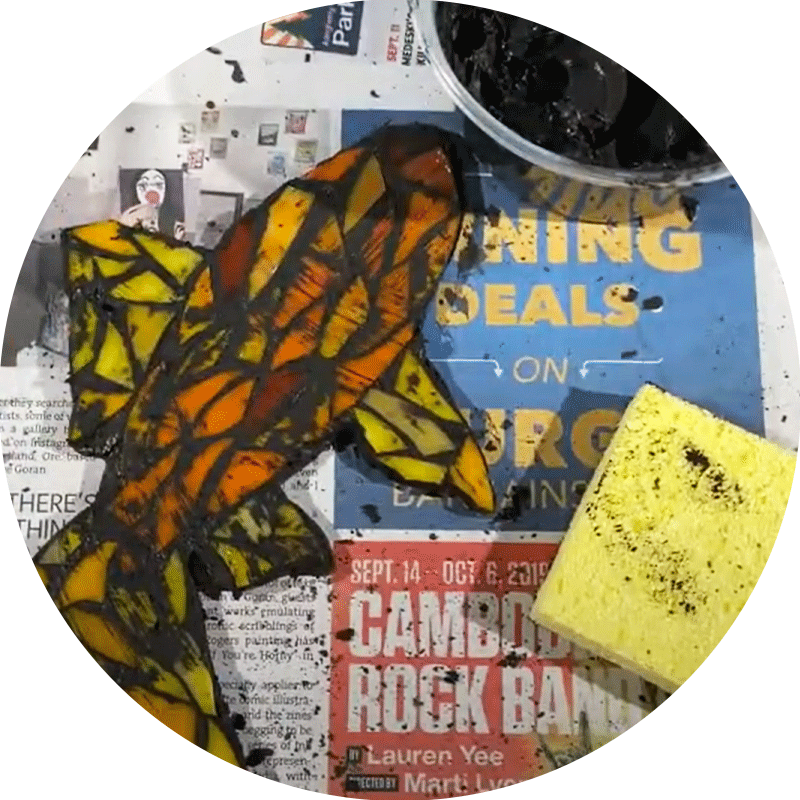
3. Cleaning and polishing
Once the grout is dry, use an abrasive sponge to gently wipe away any grout residue from the surface of the tile. Rub the tiles again with a foam sponge to make them shine.
1. Apply adhesive
Apply some glue to the wooden backing and attach the glass pieces according to the patterned grain on the backing.
2. Grouting the mosaic
Once the grout is dry, use an abrasive sponge to gently wipe away any grout residue from the surface of the tile. Rub the tiles again with a foam sponge to make them shine.
3. Cleaning and polishing
Once the grout is dry, use an abrasive sponge to gently wipe away any grout residue from the surface of the tile. Rub the tiles again with a foam sponge to make them shine.
1
/
3
It's easier to make than you might think.
Our kit includes everything you need for the project.
Testimonials

This was a fun project to do. Many designs to chose from. Fast delivery and a great seller! Would purchase again.

The colors are vibrant and the pieces fit nicely

This was a gift for my girlfriend. She loved it. It was easily assembled and looks fantastic

Bought this as a Christmas gift for my hubby. I know he will love it!

What a fun project for any skill level. As easy as putting a puzzle together!

I haven’t finished the item, but I’m happy with the pieces and colors. The instruction look ok to understand. I’ll know better when it’s completed.